Common Mistakes in Twilight Photography and How to Avoid Them
Twilight is generous for about twenty minutes and then it is gone. The sky turns a colour you cannot quite name, streetlights flicker on, and the whole scene seems to hold its breath. That is exactly why so many photographs from this window look either flat, noisy or strangely orange. The good news is that most twilight mistakes are predictable. Once you know where they creep in, you can plan around them.
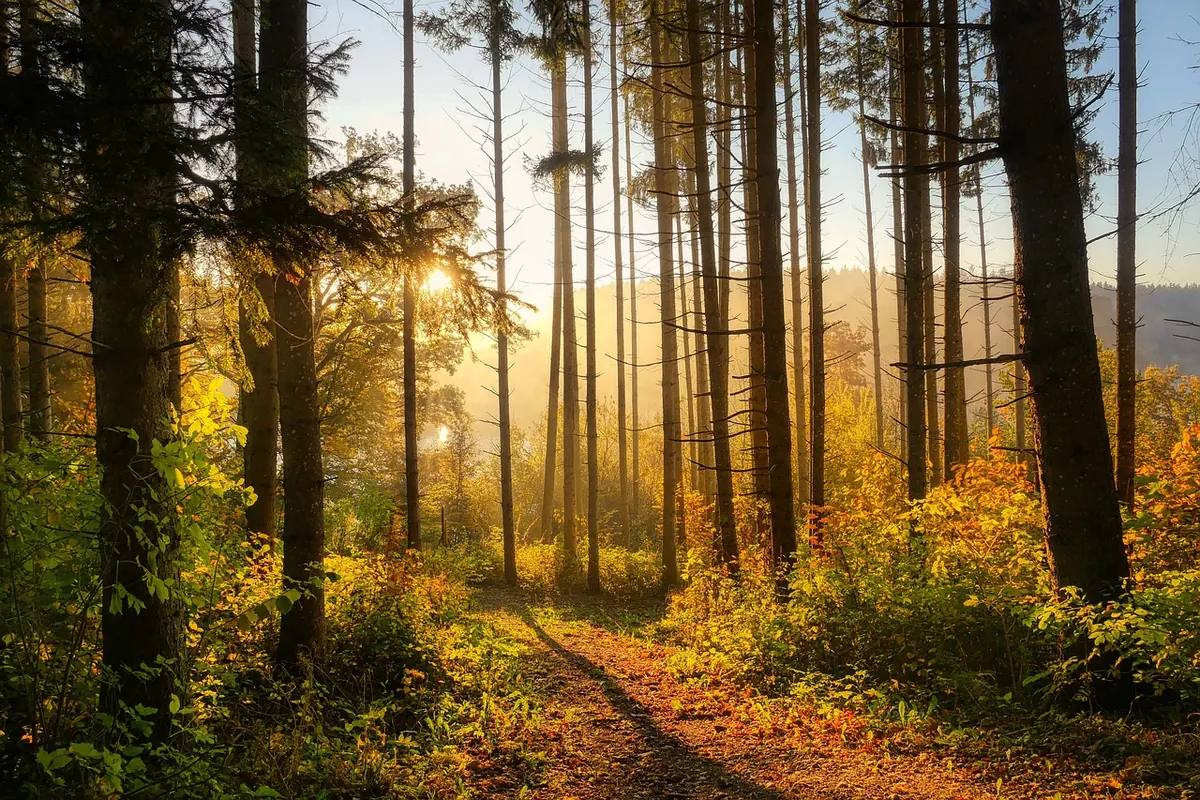
The most common mistake is arriving after the colour has peaked. Many photographers wait until the sun has disappeared, then set up while the best light drains away. Twilight has stages, and the richest blues and pinks often arrive earlier than people expect — roughly twenty to forty minutes after sunset, depending on your latitude and the time of year. The same is true before sunrise, when the sky can be at its most interesting before the sun appears.
Get to your location at least half an hour before sunset. Use that time to choose a composition, set up your tripod and check your focus. Stay longer than feels necessary, too. The afterglow can surprise you, and the blue hour — when the sky is a deep, even blue — often looks best as streetlights and building lights begin to balance with the sky.
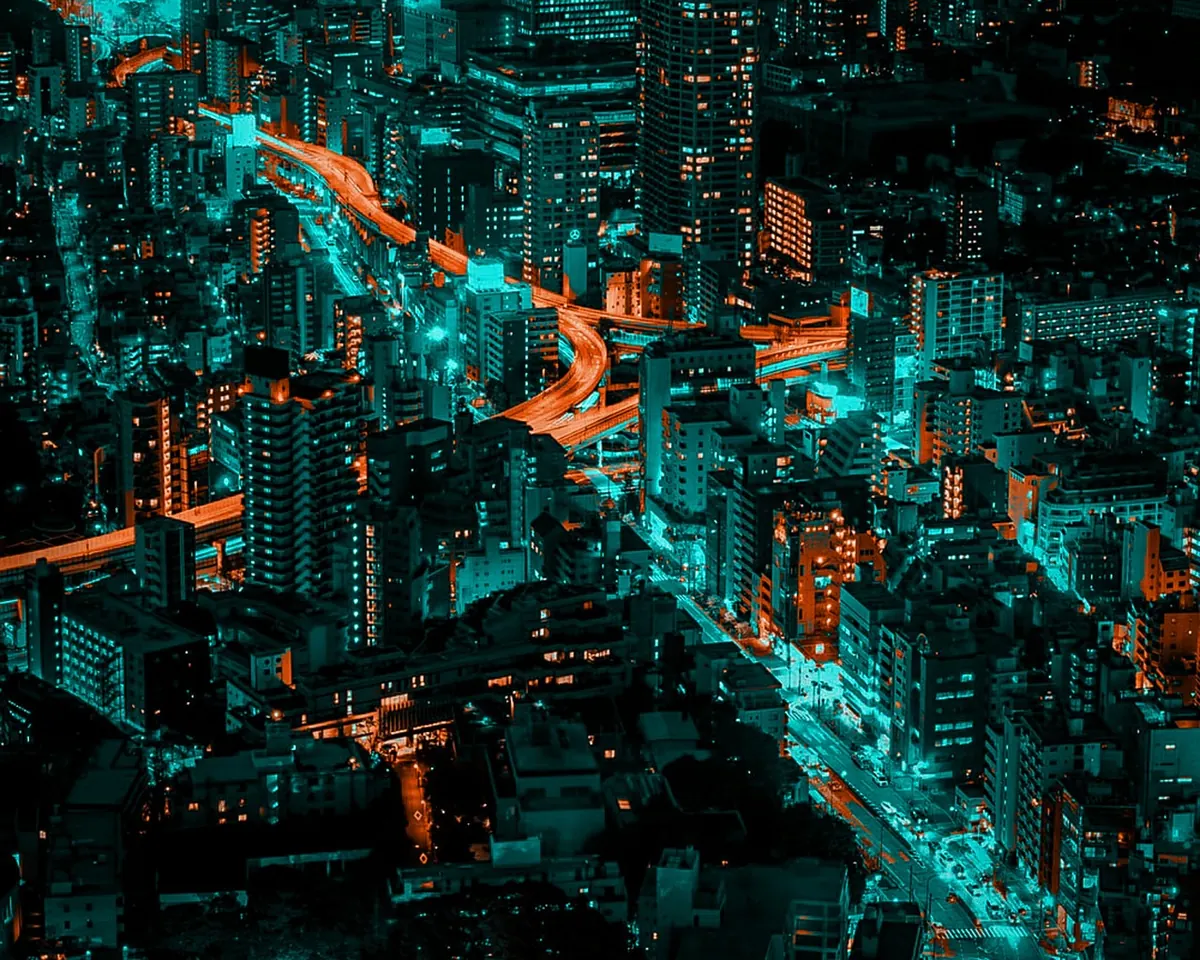
If you are shooting a cityscape, check when the lights come on. That brief overlap between natural twilight and artificial light is usually the sweet spot. Miss it, and you are left with a black sky and blown highlights.
Auto white balance is convenient in daylight. At twilight it becomes a guessing game. The camera sees a mix of cool blue sky and warm tungsten or LED street lighting, and it tries to neutralise everything. The result is often a muddy, grey-brown sky or a scene that looks nothing like what you saw.
Set your camera to Daylight white balance as a starting point. It will keep the blue in the sky and the warmth in the lights, which is usually what makes twilight appealing. If you prefer more control, choose a Kelvin setting — around 4000K to 5500K is a good range to experiment with — and adjust until the image feels right on the back screen. Shooting RAW gives you the freedom to fine-tune colour later without damaging the file.
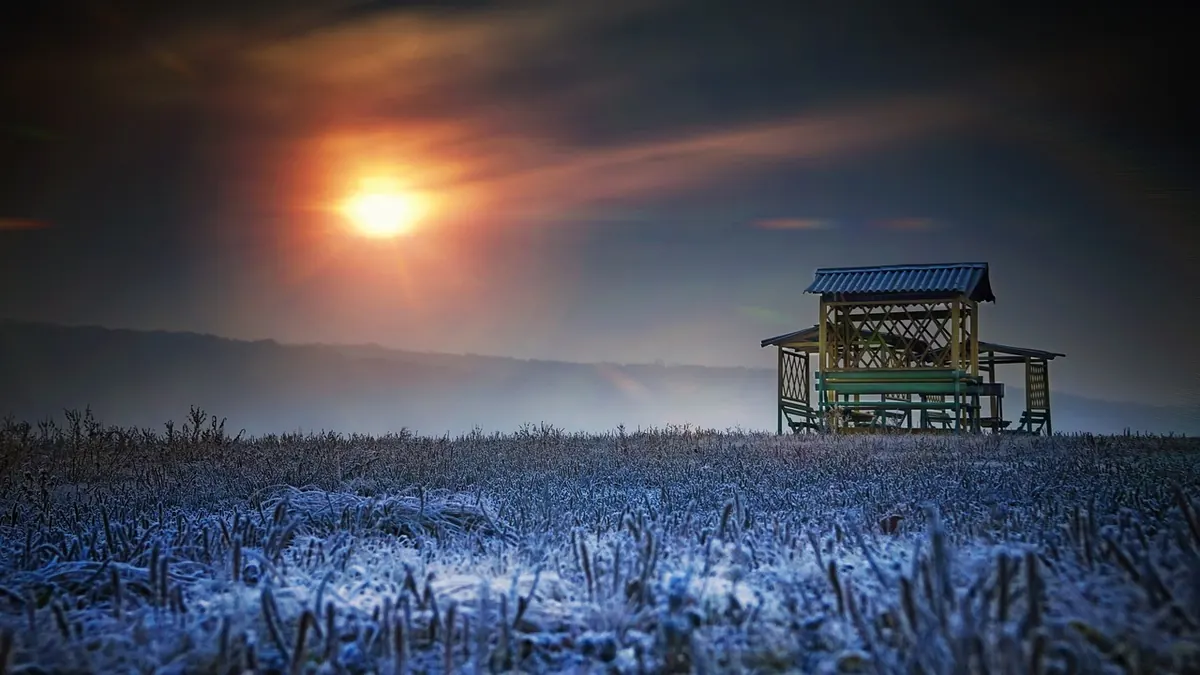
Mixed light is not always a problem. A warm lamp against a cool blue sky can be beautiful. The mistake is letting the camera flatten that contrast. If one part of the scene is dominated by a green fluorescent sign, position yourself so it does not spill onto your main subject, or accept it as part of the scene and adjust locally in editing.
Twilight has a wide dynamic range. The sky may still be bright while the foreground is almost black. Your camera's meter will try to average this, and it often gets it wrong. The classic error is a beautiful sky with a silhouetted foreground that has lost all detail — or a well-exposed foreground and a white, blown-out sky.
Start by protecting the highlights. Use your histogram to check that the brightest part of the sky is not clipped. If the sky is the priority, expose for it and let the foreground go dark; you can often lift shadows later, especially if you shot RAW. If you need detail in both, bracket your exposures and blend them later. A tripod makes this straightforward.
The LCD screen is bright and small. It will make a noisy, underexposed file look acceptable. The histogram is honest. Look for a spike pushed hard against the right edge — that means lost highlight detail. A little clipping in the sun or a bright lamp is fine; clipping across the whole sky is not.
A twilight sky can be so dramatic that it becomes the whole photograph. That is often a mistake. Without a strong foreground, the viewer has no sense of scale or place. The image becomes a pretty gradient rather than a scene.
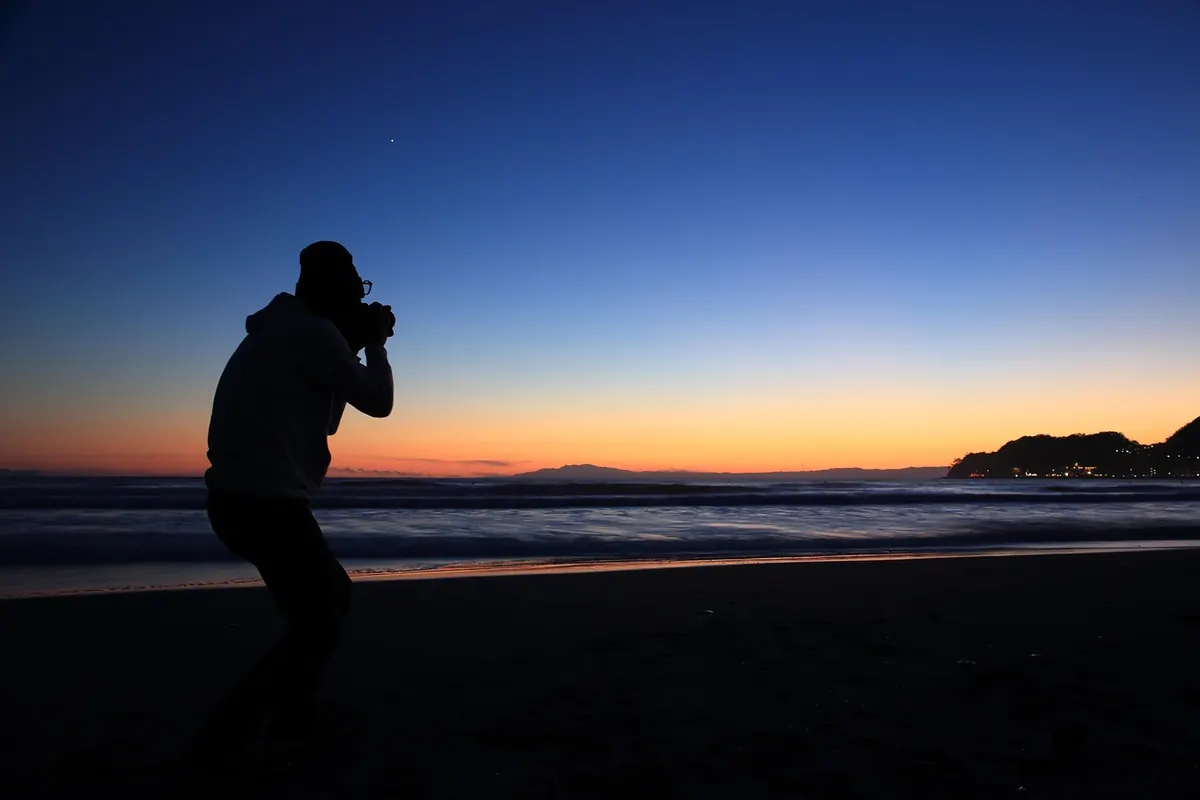
Look for something to anchor the frame: a pier, a tree, a row of buildings, a reflection in a puddle, a winding path. Silhouettes work particularly well because they simplify shapes and let the sky do the talking. Position your subject off-centre and check the edges of the frame. In low light, it is easy to miss a distracting bright light or a stray branch.
Try a few different focal lengths. A wide lens can make the sky feel vast, but it also shrinks distant landmarks. A short telephoto can compress a row of lamps or a city skyline into a tighter, more graphic composition.
As the light drops, your shutter speed stretches. Handheld shots that were fine at sunset become blurry at twilight. A tripod is not optional for most twilight work. But using one badly causes its own problems.
Extend the legs from the thickest sections first, and avoid raising the centre column unless you must. On a windy evening, hang your bag from the hook for stability. Use a remote release or the self-timer to avoid touching the camera. If your camera has one, enable electronic first curtain shutter or mirror lock-up to reduce vibration.
Turn off image stabilisation when the camera is on a tripod, unless your lens manual specifically says otherwise. Some systems can introduce a slight blur when they try to correct for movement that is not there.
Autofocus struggles when contrast is low. It may hunt, or lock onto the wrong thing. Switch to manual focus and use live view magnification to focus precisely. If you want a deep depth of field, focus roughly a third of the way into the scene rather than at infinity. Avoid stopping down beyond f/16 unless you need to; diffraction softens the whole image.
Twilight files often need a gentle lift in the shadows and a little noise reduction. The mistake is going too far. Over-saturated blues, heavy HDR blending and aggressive clarity can make a twilight image look artificial. The sky develops halos, the shadows turn grey, and the mood disappears.
Work with small adjustments. Bring down the highlights, lift the shadows carefully, and add contrast with a tone curve rather than a slider. If you use noise reduction, check the image at 100% — too much will smear fine detail like foliage or brickwork. Keep the white balance natural. If the sky looks neon, you have probably pushed the saturation too hard.
Local adjustments are useful for balancing mixed light. You can warm up a street lamp or cool down a blue building without affecting the whole frame. Just keep the transitions soft. Hard-edged masks are a giveaway.
Twilight rewards a simple routine. Arrive early, set up, and give yourself time to watch the light change. Use the following sequence to avoid the most common errors:
If you do those things, you will still make mistakes — everyone does. But they will be smaller, more fixable ones. Twilight is short, and that is part of its appeal. A little preparation means you spend less time correcting and more time watching the sky turn.
Photo: Foundry / Pixabay
Previous Post
Twilight Photography Exposure Checklist: 12 Settings to Confirm Before Sunset
Next Post
How to Focus in Low Light: Techniques for Sharp Dusk Photos