Editing Twilight Photos: How to Balance Warm Sunsets and Cool Shadows
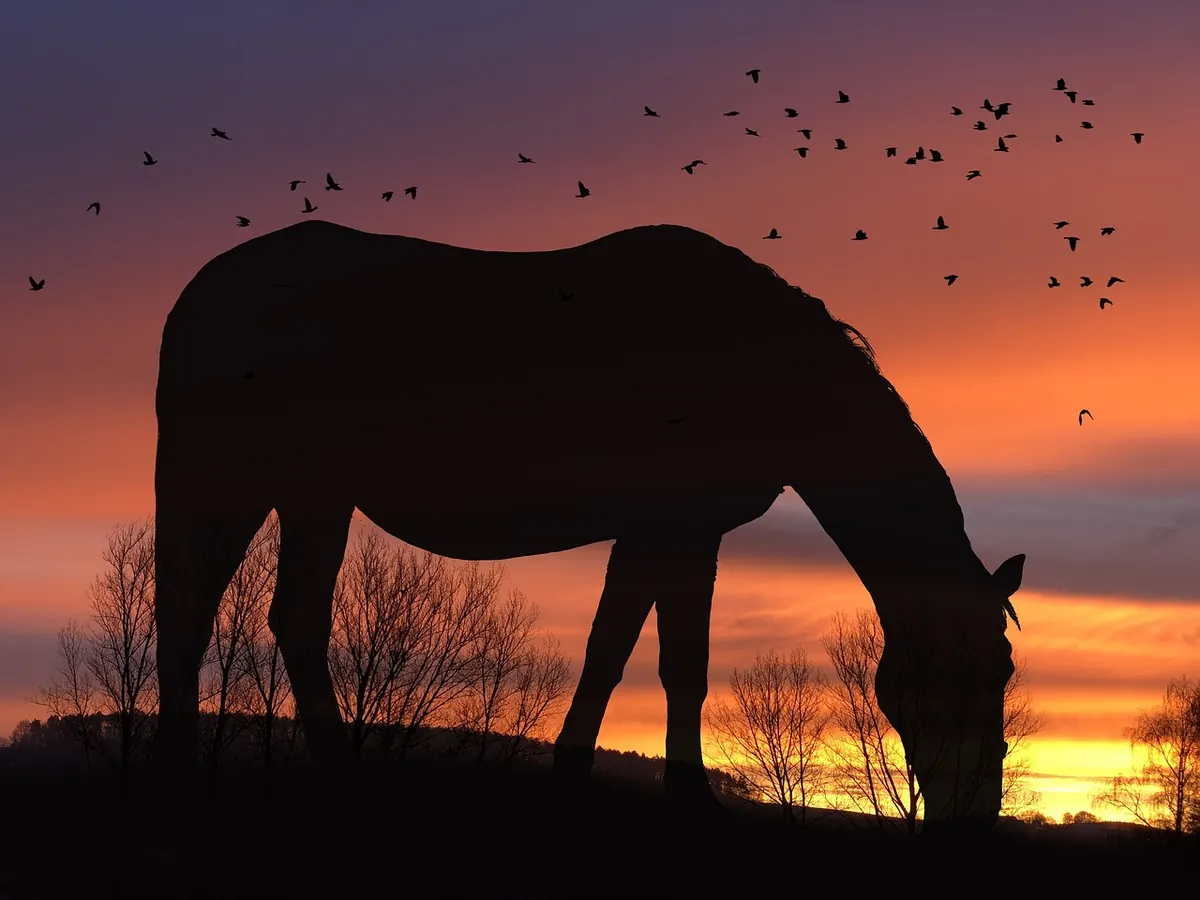
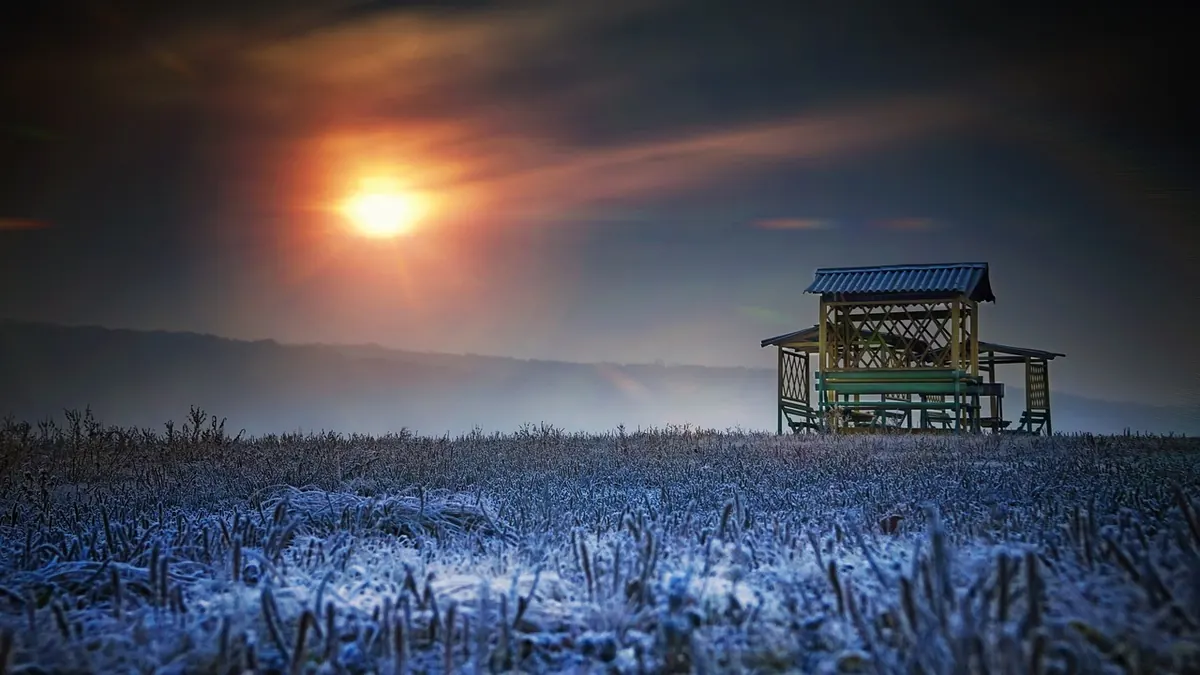
Twilight gives you two colours of light in a single frame: the last warm flush of the sun near the horizon, and the cool blue ambience filling everything the sun has already left behind. That split is the whole appeal of the hour. It is also why twilight photographs so often disappoint. The camera averages the two, and you end up with a muddy middle where the sunset reads yellow-grey and the shadows look dirty. Fixing it is not about a preset. It is a short sequence of decisions, made in a sensible order, that keeps warmth where the light was warm and cool where the light was cool.
Two minutes of groundwork saves twenty minutes of repairs. Shoot raw if you can. Twilight is a high-dynamic-range subject with a coloured cast sitting in the shadows, and raw gives you the headroom to lift those shadows later without the colour collapsing into speckled grey.
At capture, expose for the brightest patch of sky, just short of clipping. In a sunset the red channel is usually the first to go, so watch your camera's RGB histogram rather than the brightness one, and pull the exposure down if red is stacked against the right-hand edge.
In editing, resist the urge to make the frame neutral. There is no true grey in twilight. The correct white balance is the one that puts warmth in the sunset and blue in the shade, and a slightly cool global setting often leaves more room for the glow to read as warm by contrast. Click your white balance on the brightest cloud and you will bleach the colour out of the one part of the picture that matters most.
Colour and contrast decisions interact, so working in a consistent order stops you chasing your own corrections.
Compare with the original at the end. Twilight edits drift warm and heavy over a long session, and a quick look at the starting point resets your eye.
Blue-hour shadows are dim, blue and noisy. A moderate Shadow slider is fine, but the classic failure is lifting shadows globally until every dark area sits at the same flat grey. Keep a genuine black in the frame. Deep shadows give a warm sky something to push against, and without them the whole image goes soft and soupy.
Curves usually give better control than sliders. Lift the shadow end of the RGB curve gently, then pull the very last point down to restore a real black. A small lift in the blue channel's shadows deepens the blue-hour feel without touching the sky at all. If you need more than that, do the rest locally — a graduated filter or a brush over the foreground rather than a global slider that also drags the midtones.
Noise reduction belongs in this stage. Shadow noise becomes obvious the moment you brighten it, and the tidiest approach is to apply a moderate pass before you do any of the shadow work, masked so that finer detail survives. Keep sharpening away from noisy shadow areas entirely; crisp noise reads as grain, and grain in a smooth blue sky looks like a mistake.
Split toning, or the colour grading wheels in your editing software, is the right tool. Warm the highlights with an amber hue in the orange range, at moderate saturation. Cool the shadows with a blue hue, at noticeably lower saturation than the highlights. Leave the midtones close to neutral; cool them as well and the picture starts to look like a filter rather than a place.
Targeted colour adjustments do the fine work. Nudge orange very slightly towards red for richer sunset clouds, add a little saturation, and drop its luminance a touch to give the sky some weight. For the blues, shift the hue towards a deeper blue if the sky has drifted cyan, raise saturation slightly and lower luminance to deepen the blue hour. Keep an eye on magenta and purple: skies just after sunset love to go pink, and a small shift towards blue in those sliders keeps them clean rather than candy-coloured.
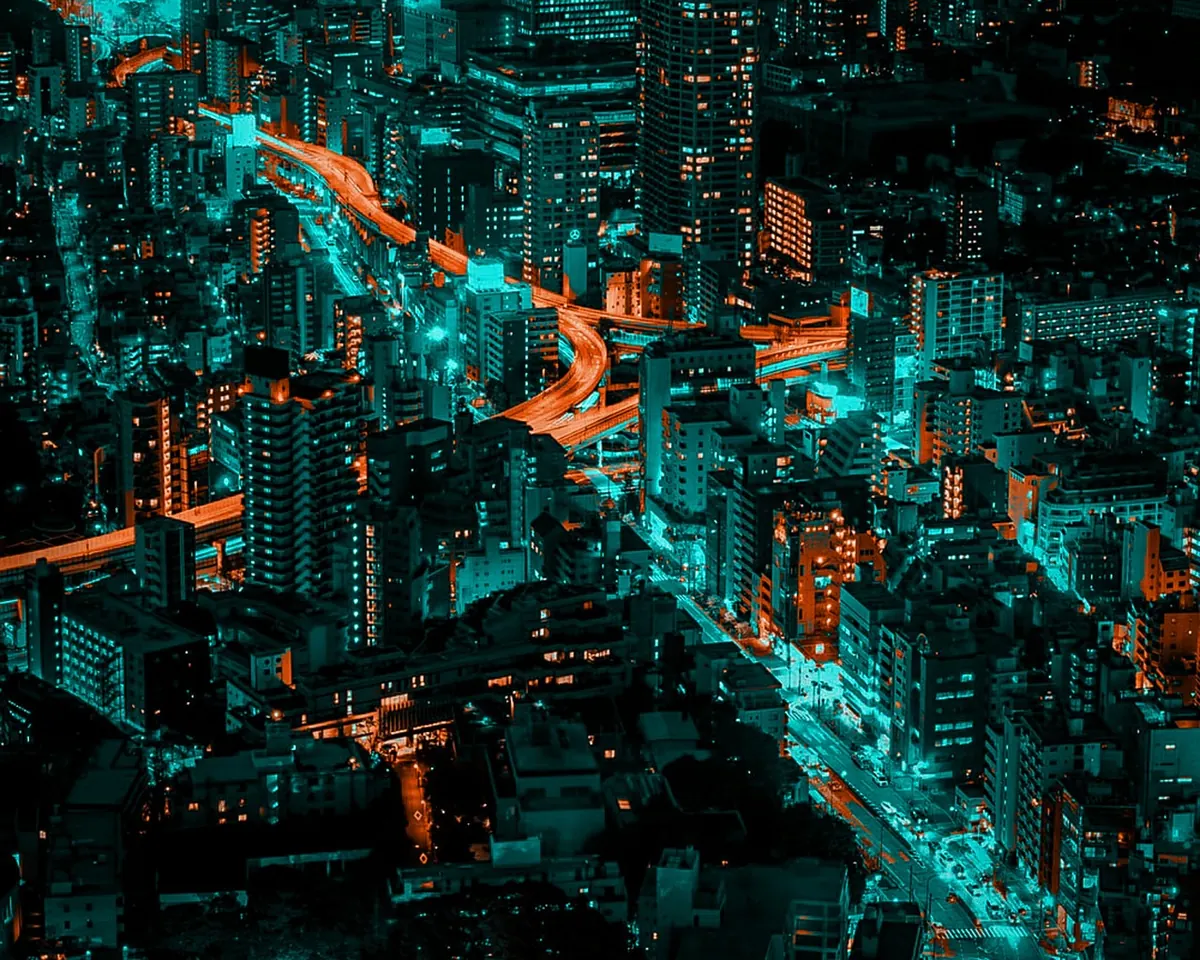
Heavy orange above and heavy teal below is instantly recognisable, and not in a good way. Aim for asymmetry: warm highlights brighter and more saturated, cool shadows quieter and darker. Push orange saturation and check the red channel as you go. A posterised sky, where smooth gradients break into visible bands, is very hard to repair afterwards.
Global sliders set the mood; local ones make it believable. A graduated filter from the top of the frame will deepen the sky, but keep the horizon line out of the buildings — use a brush along the skyline instead, or a colour-range mask that selects the sky and leaves the rooflines alone.
A radial filter over the sun's glow, with a little added warmth, restores the fading light exactly where it belongs. A luminosity mask lets you open up the foreground without touching the sky at all. Dodge and burn finishes the job: light along the reflections on wet sand or pavement, gentle burning around the edges to hold the viewer's eye near the horizon.
Use dehaze and clarity sparingly. Small amounts add bite. Too much and the delicate, soft gradient that makes twilight so attractive turns hard and crunchy, and dehaze drags saturation upwards as it goes.
Set white balance once, protect the highlights, keep a real black in the frame, grade warm above and cool below, then do everything else locally. Clean the noise before you sharpen, and only sharpen where there is genuine detail. Save your edit as a new version rather than overwriting the original, so you can return to the raw file when your taste changes.
Finally, look at the finished image somewhere other than your editing monitor, on a phone or a tablet at low brightness. Twilight photographs are mostly midtones and gradients, and they shift more between screens than bright daylight shots do. If the balance still holds there, it will hold anywhere.
Photo: dendoktoor / Pixabay
Previous Post
Twilight Seascapes: How to Capture Reflections and Long Exposures
Next Post
How to Edit Noise in High-ISO Twilight Photos Without Losing Detail