Twilight Seascapes: How to Capture Reflections and Long Exposures
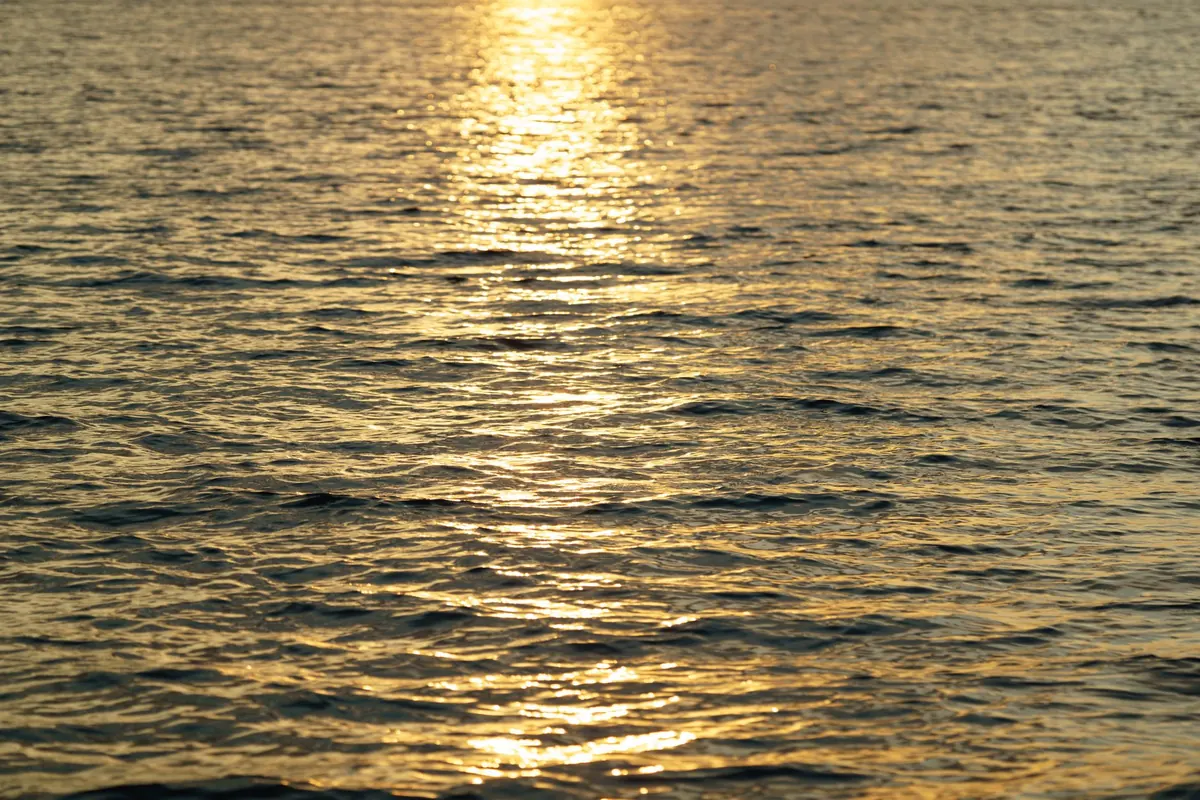
The best light at the coast rarely arrives while the sun is still up. It comes twenty minutes later, when the sky has turned the colour of cooling ash and the tide is draining back across flat sand, leaving a film thin enough to hold the whole scene upside down. Twilight is when long exposures earn their keep: the light drops far enough for seconds-long shutter speeds, and a wet beach hands you the mirror you would otherwise have to bring with you. Here is how to bring the two together.
At midday the sea is busy. Waves break, foam churns, spray flies, and the camera records a mess of white texture going nowhere. As the light falls, two things change at once. The contrast between sky and land narrows, so you can hold detail in the clouds and the rocks in a single frame. And the water, seen over several seconds, stops looking like water and starts looking like vapour, silk or polished stone.
The other gift of twilight is the beach itself. A receding wave leaves a skin of water over sand that behaves almost like a mirror, and it lasts only a few seconds before it drains or soaks away. That is your window. Arrive well before sunset, walk the shoreline, and work out where you will stand when the light is right. Fumbling with a tripod in near-darkness is how most people miss the shot.
You do not need much, but you do need the right things:
Leave the polariser in the bag until you know what you want from it. It will cut the glare on wet sand, which is sometimes exactly right and sometimes destroys the reflection you came for.
Check tide times from a reliable local source — harbour notices and published tide tables are the ones to trust — and know whether the water is coming in or going out. A falling tide gives you freshly drained sand, the best reflective surface of the evening. A rising tide gives you water surging around rocks, which can look wonderful but leaves you less room.
Give yourself a clear exit route and never let the sea get between you and it. Coastal light is worth waiting for; it is not worth standing on a ledge you cannot leave. If you are shooting alone, tell someone where you are going and when you expect to be back.
This is the creative decision that matters most, and it is worth experimenting rather than following rules. Roughly, at the sort of apertures you will be using:
Shoot a sequence at several speeds on the same composition. The one that works is rarely the one you predicted, and it costs you nothing but time.
Work in manual mode. Set your ISO to its base value, choose f/8 to f/11 for depth of field and lens sharpness, then meter the scene without the filter and note the shutter speed. Now apply the filter factor by doubling: each stop doubles the time. A 6-stop filter multiplies by 64, a 10-stop by 1,024.
So if the meter gives 1/8 sec at f/11 and ISO 100, a 6-stop filter lands you at 8 seconds, and a 10-stop at around two minutes. That is bulb mode territory — a remote with a timer is far easier than counting in your head while the cold gets into your fingers.
Shoot RAW. Twilight skies contain subtle gradations that a compressed file will smooth into bands.
Get the tripod low and consider the horizon line almost aesthetically as a fold in the image. Perfect symmetry — sky above, sky below — is powerful but can feel static, so try giving the sky two thirds of the frame and letting the reflected band fill the bottom.
Timing matters more than gear. Wait for the moment just after a wave has drained; that is when the sand is at its most mirror-like. Shoot, then shoot again as it fades. Rock pools and shallow channels do the same job in miniature and give you something solid to reflect against.
Keep the frame simple. One rock, one groyne post, one line of footprints in wet sand is usually enough. Clutter reads as noise once the water is smoothed away, and the emptiness is what draws people to these pictures in the first place.
Then stay a little longer than feels sensible. The ten minutes after everyone else packs up are usually the best of the night — and if you leave with cold hands, wet boots and a card full of silk-smooth water, you have done it properly.
Photo: Nothing Ahead / Pexels
Previous Post
Landscape Photography at Dusk: Composing for Depth and Drama
Next Post
Editing Twilight Photos: How to Balance Warm Sunsets and Cool Shadows